K86 - Urban Ninja #2
I decided to make this Urban Ninja for a friend. It is based on the Urban Ninja plans by Horvath. Since this is my second time building one, I took a few liberties to build it a bit more “my way”, and I had some wins and losses from that.
Build Notes
Leading Edge
Last time, I built an urban ninja following the On The Line build-along. And I think in that one, we applied the leading edge onto the sail with just enough overlap to sew. I did that again this time, and I cut the spine based on the dimensions in the plans. I found that the spine was too short. This makes me think that the proper approach is to overlap the leading edge entirely with the sail, which would bring that nose down a bit and make the spine fit. I ended up cutting a new spine, but it’s a good note for next time. ### Wing Tips
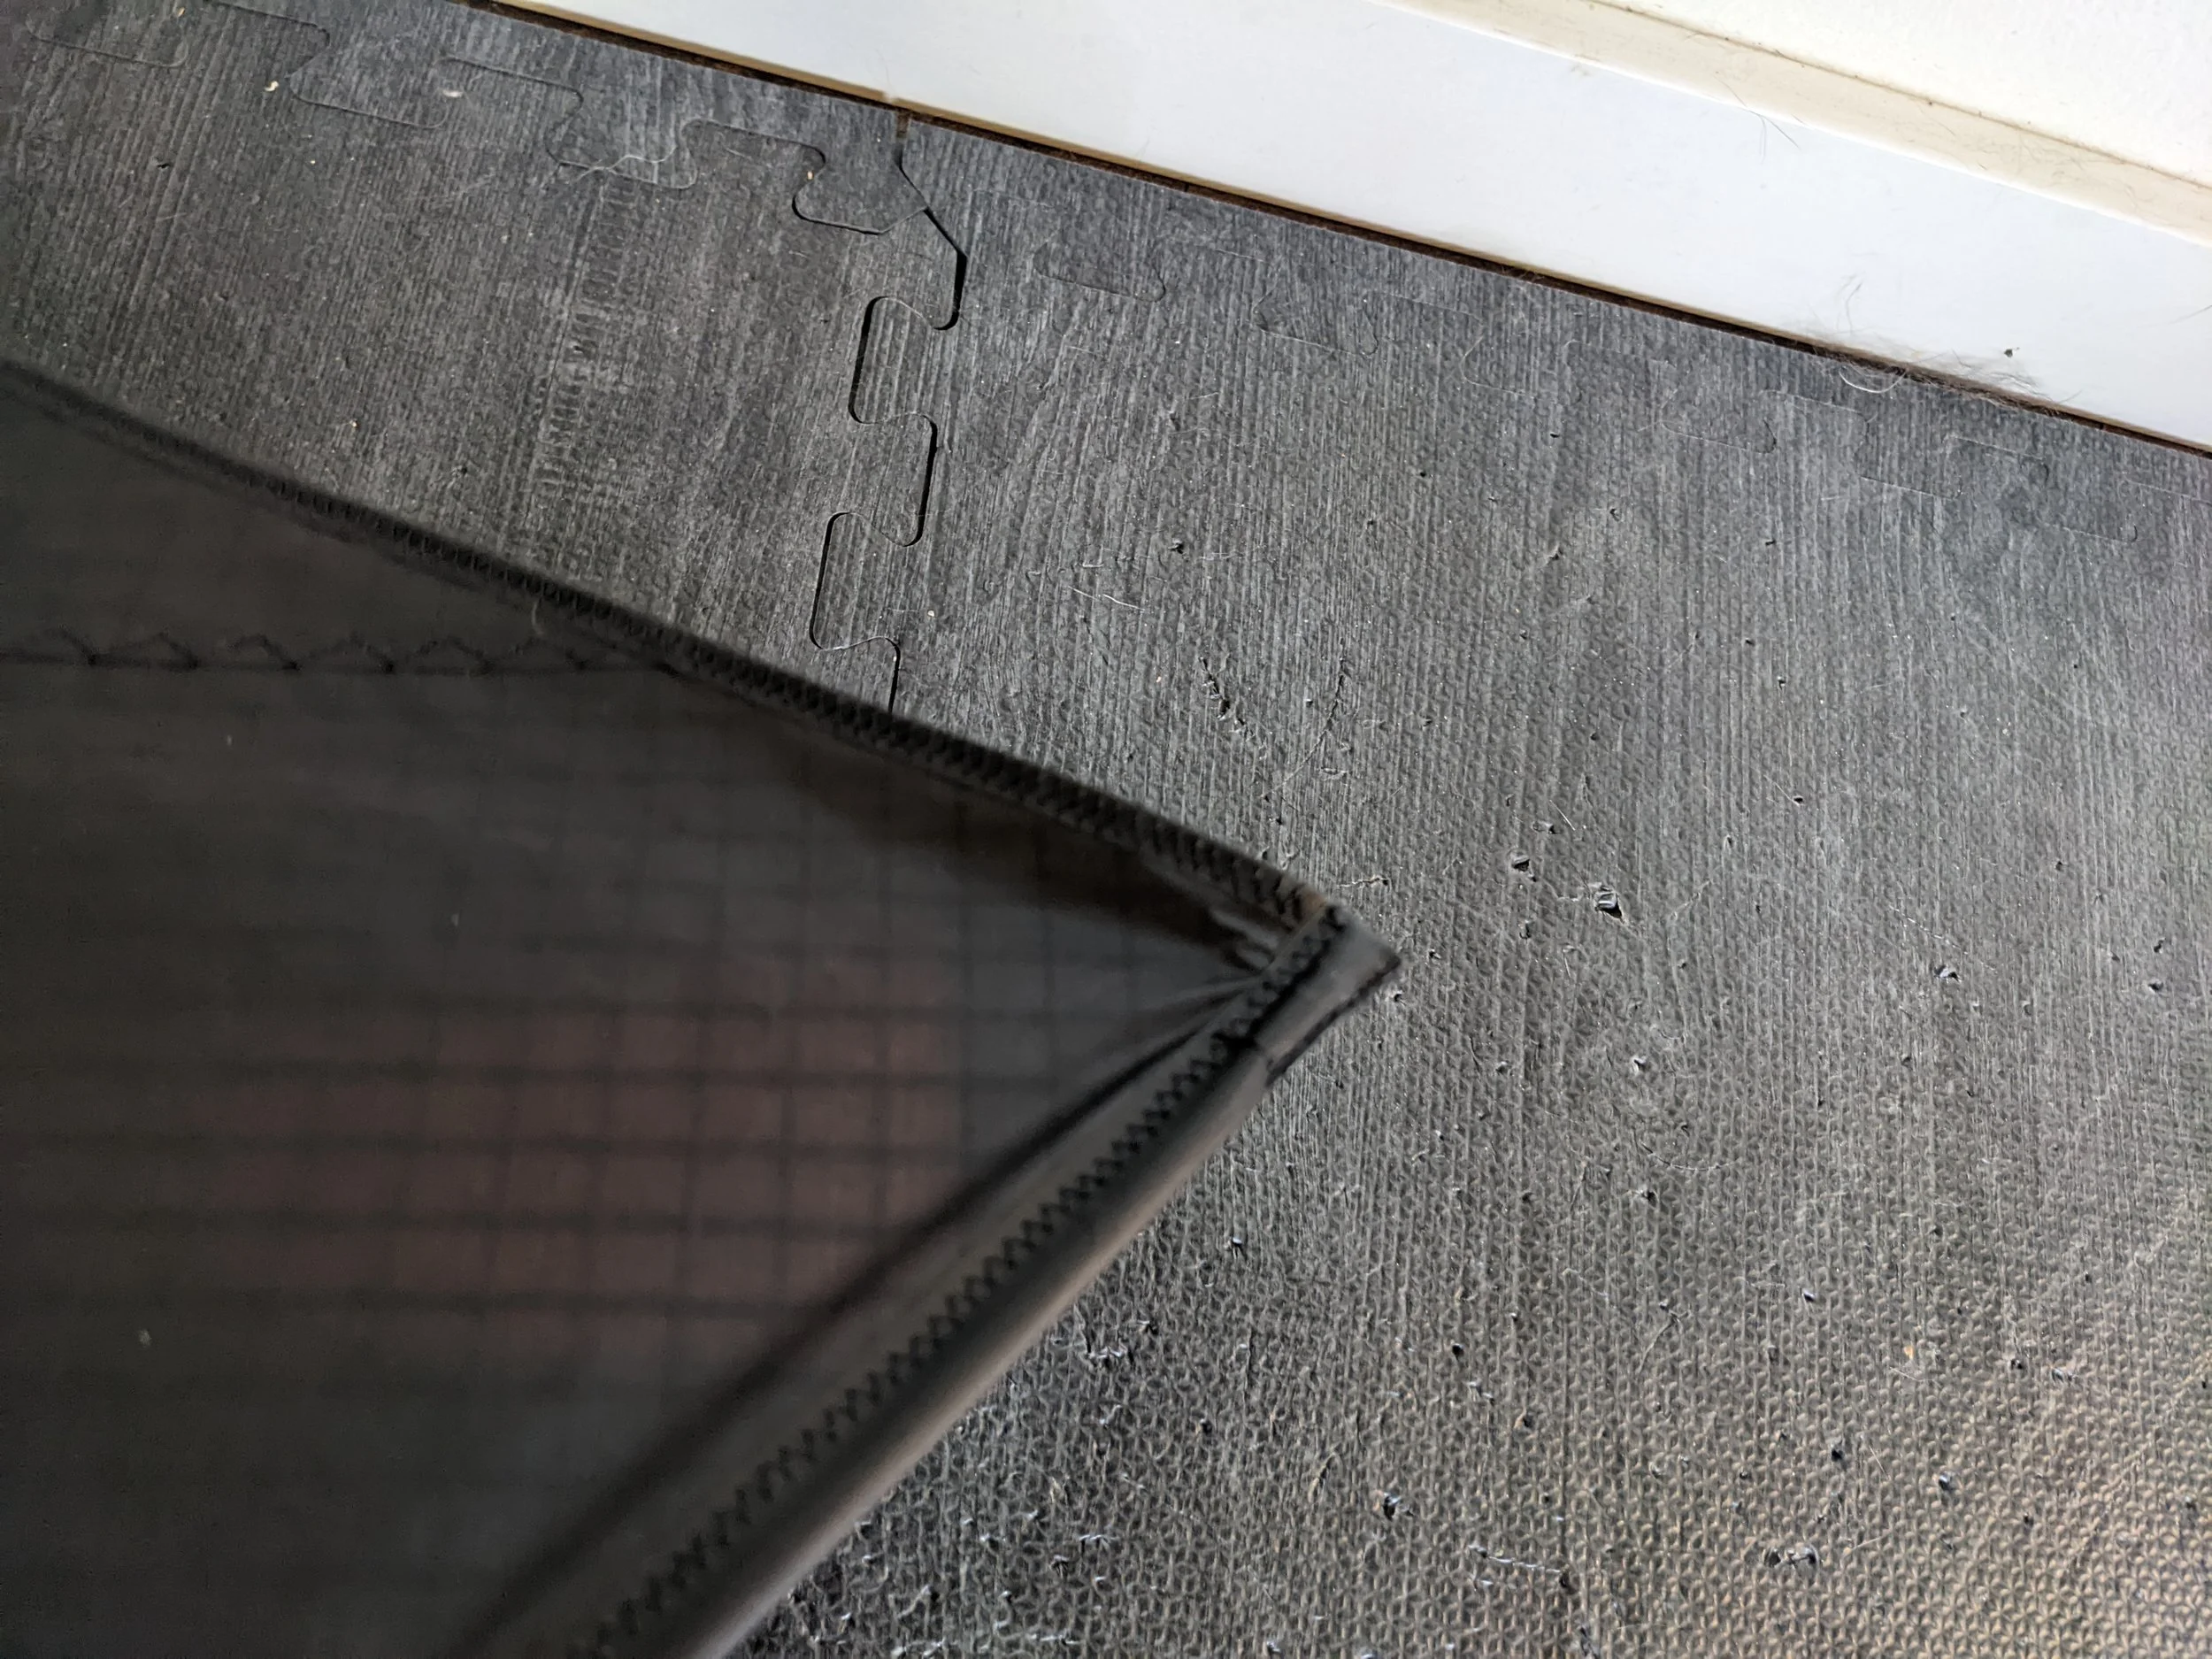
I messed around a bit with the dimensions of the leading edge and the trailing edge because I wanted to use .5oz nylon that I already have in strips, rather than cutting strips out of Icarex. So, I used 1” nylon for the leading edge and 1/2” nylon for the trailing edge. This made the trailing edge slightly wider than the plan, but that seems fine. It made the leading edge slightly narrower than the plan, which is mostly fine. However, I also wanted to sew those tips a bit more along the edges, which cut down the space in the tips a bit more. This resulted in not having enough room for the leading edge spar to go into the wing tip past the hole. So, I ended up getting the leading edge into the pocket, pushing it up toward the nose, and sewing on a new wing tip cover to secure he spar in the pocket. This ends up being pretty clean, which is nice, but it will make replacing that leading edge difficult if that is ever needed.
Fittings
As usual, I printed all the fittings. In the plan, they use a standoff connector for the spreader, but when I did that before, I found that it put the spreader at a strange angle. So I use a spreader-leading-edge connector instead, which has a 45 degree angle to it.
Sail Cutting
In the plan, they suggest folding the fabric in half, then cutting based on the template. I like to hot-cut my fabric, and I don’t like hot-cutting more than one layer at a time, because it is hard to separate them. So, I ended up cutting one half, then turning the fabric around, and cutting the other half. This seemed to work fine.
Reinforcements
I’m not a big fan of the adhesive-based reinforcement that is suggested in the plan, I much prefer things sewn in to place, so that’s what I did on this one.