K79 - Essentials S #5
This kite was built at Fort Worden Kitemakers Conference while I was teaching a quad-line kite making class. This was my first time attending a kite making conference, let alone teaching a class, and it was truly a great experience. I’m going to look back on both K79, and on my experience of teaching the class.
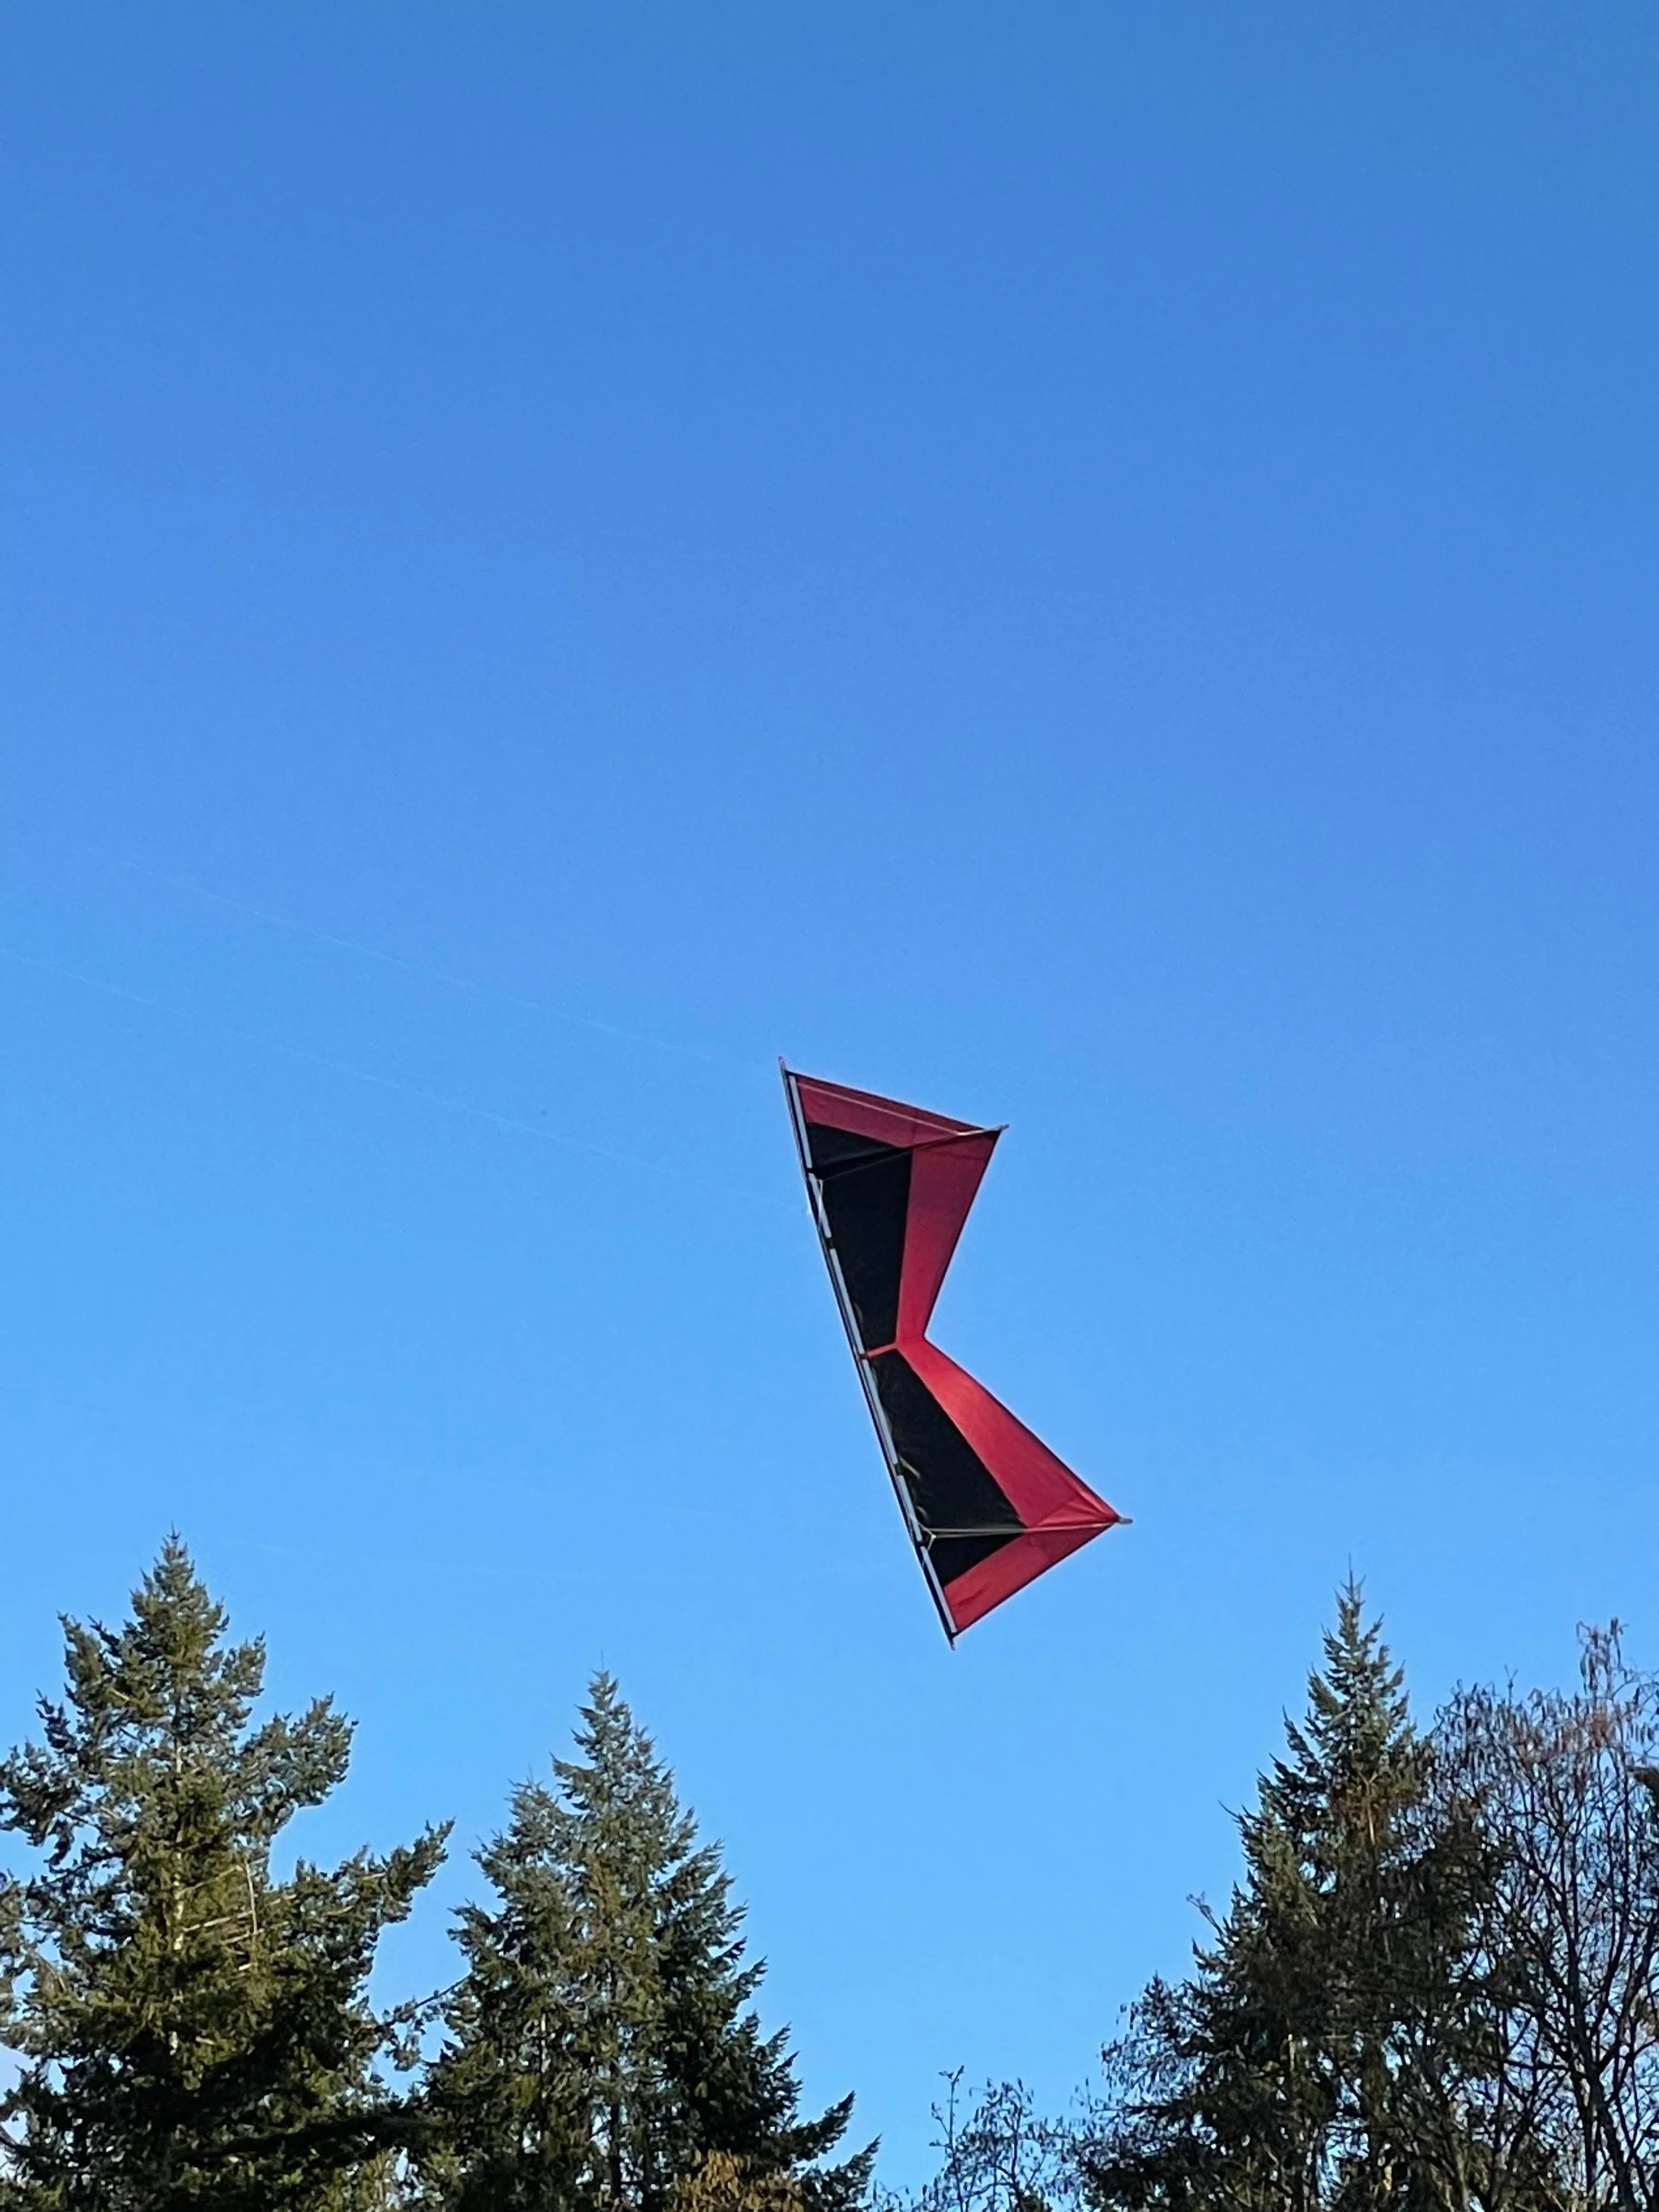
K79
The sewing machine
For the conference, I did not want to bring my usual sewing machine, because it is embedded in a table, making it a pain to travel with. So, I instead used my Brother SE-400. I had never sewn with this machine, because I used it exclusively for embroidery. This is a much newer machine than my Singer 401-A, and it has many bells and whistles like self-threading, bobbin warning, needle-down, automatic thread trimming, and so on, but I have to say, I still prefer my old Singer.
The Brother did alright for the most part. Tensions as ok, the stitches were fine. I was quite bothered by how he machine tacks back when using a triple zig-zag. This worked fine on straight and single-zig-zag stitches, but on triple zig-zag, it didn’t want to tack back along the zig zag, it instead tacked back straight, so I ended up manually moving the fabric to get the needle where I want for the tack backs, so that was quite annoying. While the extra features are nice, I just feel that I have much more control over my Singer.
The build
On my last quad line build, I added a black strip on the back to cover the leading edge mesh. On this one, I think I cut those strips a bit too wide and there’s some extra fabric there. I may go back and trim that out, but it’s probably fine. I just eyeballed the width of these strips, and I should probably write down a specific width and be more diligent about measuring it in the future.
The Class
Timing
I was very pleased with the pace of the class. I’ve measured that it takes me about 8 hours to make an Essentials S on my own space, so I figured I’d expect double that from a class. My class was scheduled as a 2-day class, with the class working through Friday and Saturday, about 8 hours each day.
With everyone working mostly within the class schedule, nearly everyone completed their kites in the class, and the last in-class finisher finished just before dinner on Saturday. I’m very glad that no one had to work through the night to finish their kites, and that no one was left finishing so early that they had a ton of extra time to spare.
Class kits
For this class, because it was my first time, I didn’t charge anything for the class itself. However, I did arrange with Kites and Fun Things for students to call in to order their kits, which included most of the materials they would need for the class. I supplemented the class with any other necessary materials, and students were expected to bring their own tools.
I think this worked ok, but I think I will arrange the kits myself in the future. I have a few reasons for this. First, this would make it much easier to arrange a fee for the class, as I try to value my time and not do things too much for free. If I am arranging the kits, I can just mark up the cost of the kit to account for my time in the class so students pay one person once, and all is settled.
Another reason why I would arrange my own kits is for consistency and thoroughness. While Kites and Fun things did a great job, they don’t have stock for every little thing that I use, so I end up supplementing with other materials anyway. If I arrange the kits myself, I can also just have plenty of materials for the whole class, and we are less likely to struggle if I did not arrange for enough bridle line, for example. I would just have a big spool of bridle line, and we’d be fine.
Bottle necks
There were a couple of bottle necks in the beginning, mainly on the glass surfaces. I brought two 3’ x 6’ class surfaces for hot-cutting, one of which is back-lit for arranging fabric. In the beginning, everyone is at the same place trying to cut out and arrange their fabric, so this became a bottleneck there. I don’t have a great solution for this. I don’t think it would be reasonable to build more illuminated glass tables just for conferences, and smaller pieces of glass wouldn’t really help since panels can be rather large. Maybe I’ll have a larger workshop in the future, and I’ll have multiple illuminated tables, and that may solve my problem, but I don’t have space for that now.
Thread and tape
One recurring problem that was faced was machines having sewing problems when sewing through double-sided tape. This seems very dependent on the specific machine, needle, and thread. Once I offered up some of my own thread to use, the problems largely went away. In the future, I may stress a bit more ahead of time for students to purchase the specific thread that I use.
Reinforcements on wrong side
Another problem that came up for a few folks was that they sewed one of the wear strips on to the wrong side of the sail (on the front). The way that I arrange the sails is to keep the base blueprint static, and flip the sail that you are working on to build each side. This means that you are marking the front on one side, and you are marking the back of the other side. I think this largely led to the confusion. I still like arranging the fabric this way, because I make the blueprint slightly tacky, and I’d rather have that just on one side of the paper. However, I could emphasize caution around this part or suggest students to employ some mechanism, like putting blue tape on the front of the sail as a reminder.