K90 - Escape #5
This is an Escape Strong, built with 1.9oz Ottertex Ripstop Nylon, framed in P300 (LE+Spine), Nitro Strong (Lower Spreaders), and 6mm pultruded carbon (Upper Spreader). This build is based on the Escape open source plan by Ulzburger Kites .
Tweaks to the Escape design
Leading edge framing
The official Escape plans suggest cutting down the lower leading edge instead of the upper leading edge, and I found this to be a poor idea. When flying Escape #4, my lower leading edge broke at the ferrule. In retrospect, this makes sense because, with the longer upper leading edge, the ferrule is right next to the lower spreader connection. The edge of the ferrule creates a pressure point inside the spar, and when that is placed in a high-stress area, like near the lower spreader, a break is bound to happen. Since then I have swapped the spars on all of my escapes so that the lower leading edge is a full-length spar.
Lower spreaders
The Escape plans suggest cutting the lower spreader on the thick end. As I have on other builds, I decided to cut them down on the thin end instead. After measuring my ferrules, I found that a ferrule would not fit properly in the end of the spar if the thick end was cut off, because it is a tapered spar. Tapered spars are not tapered for the first several inches of the spar, which allows for ferrules in the first place. Cutting that part off doesn’t make sense to me.
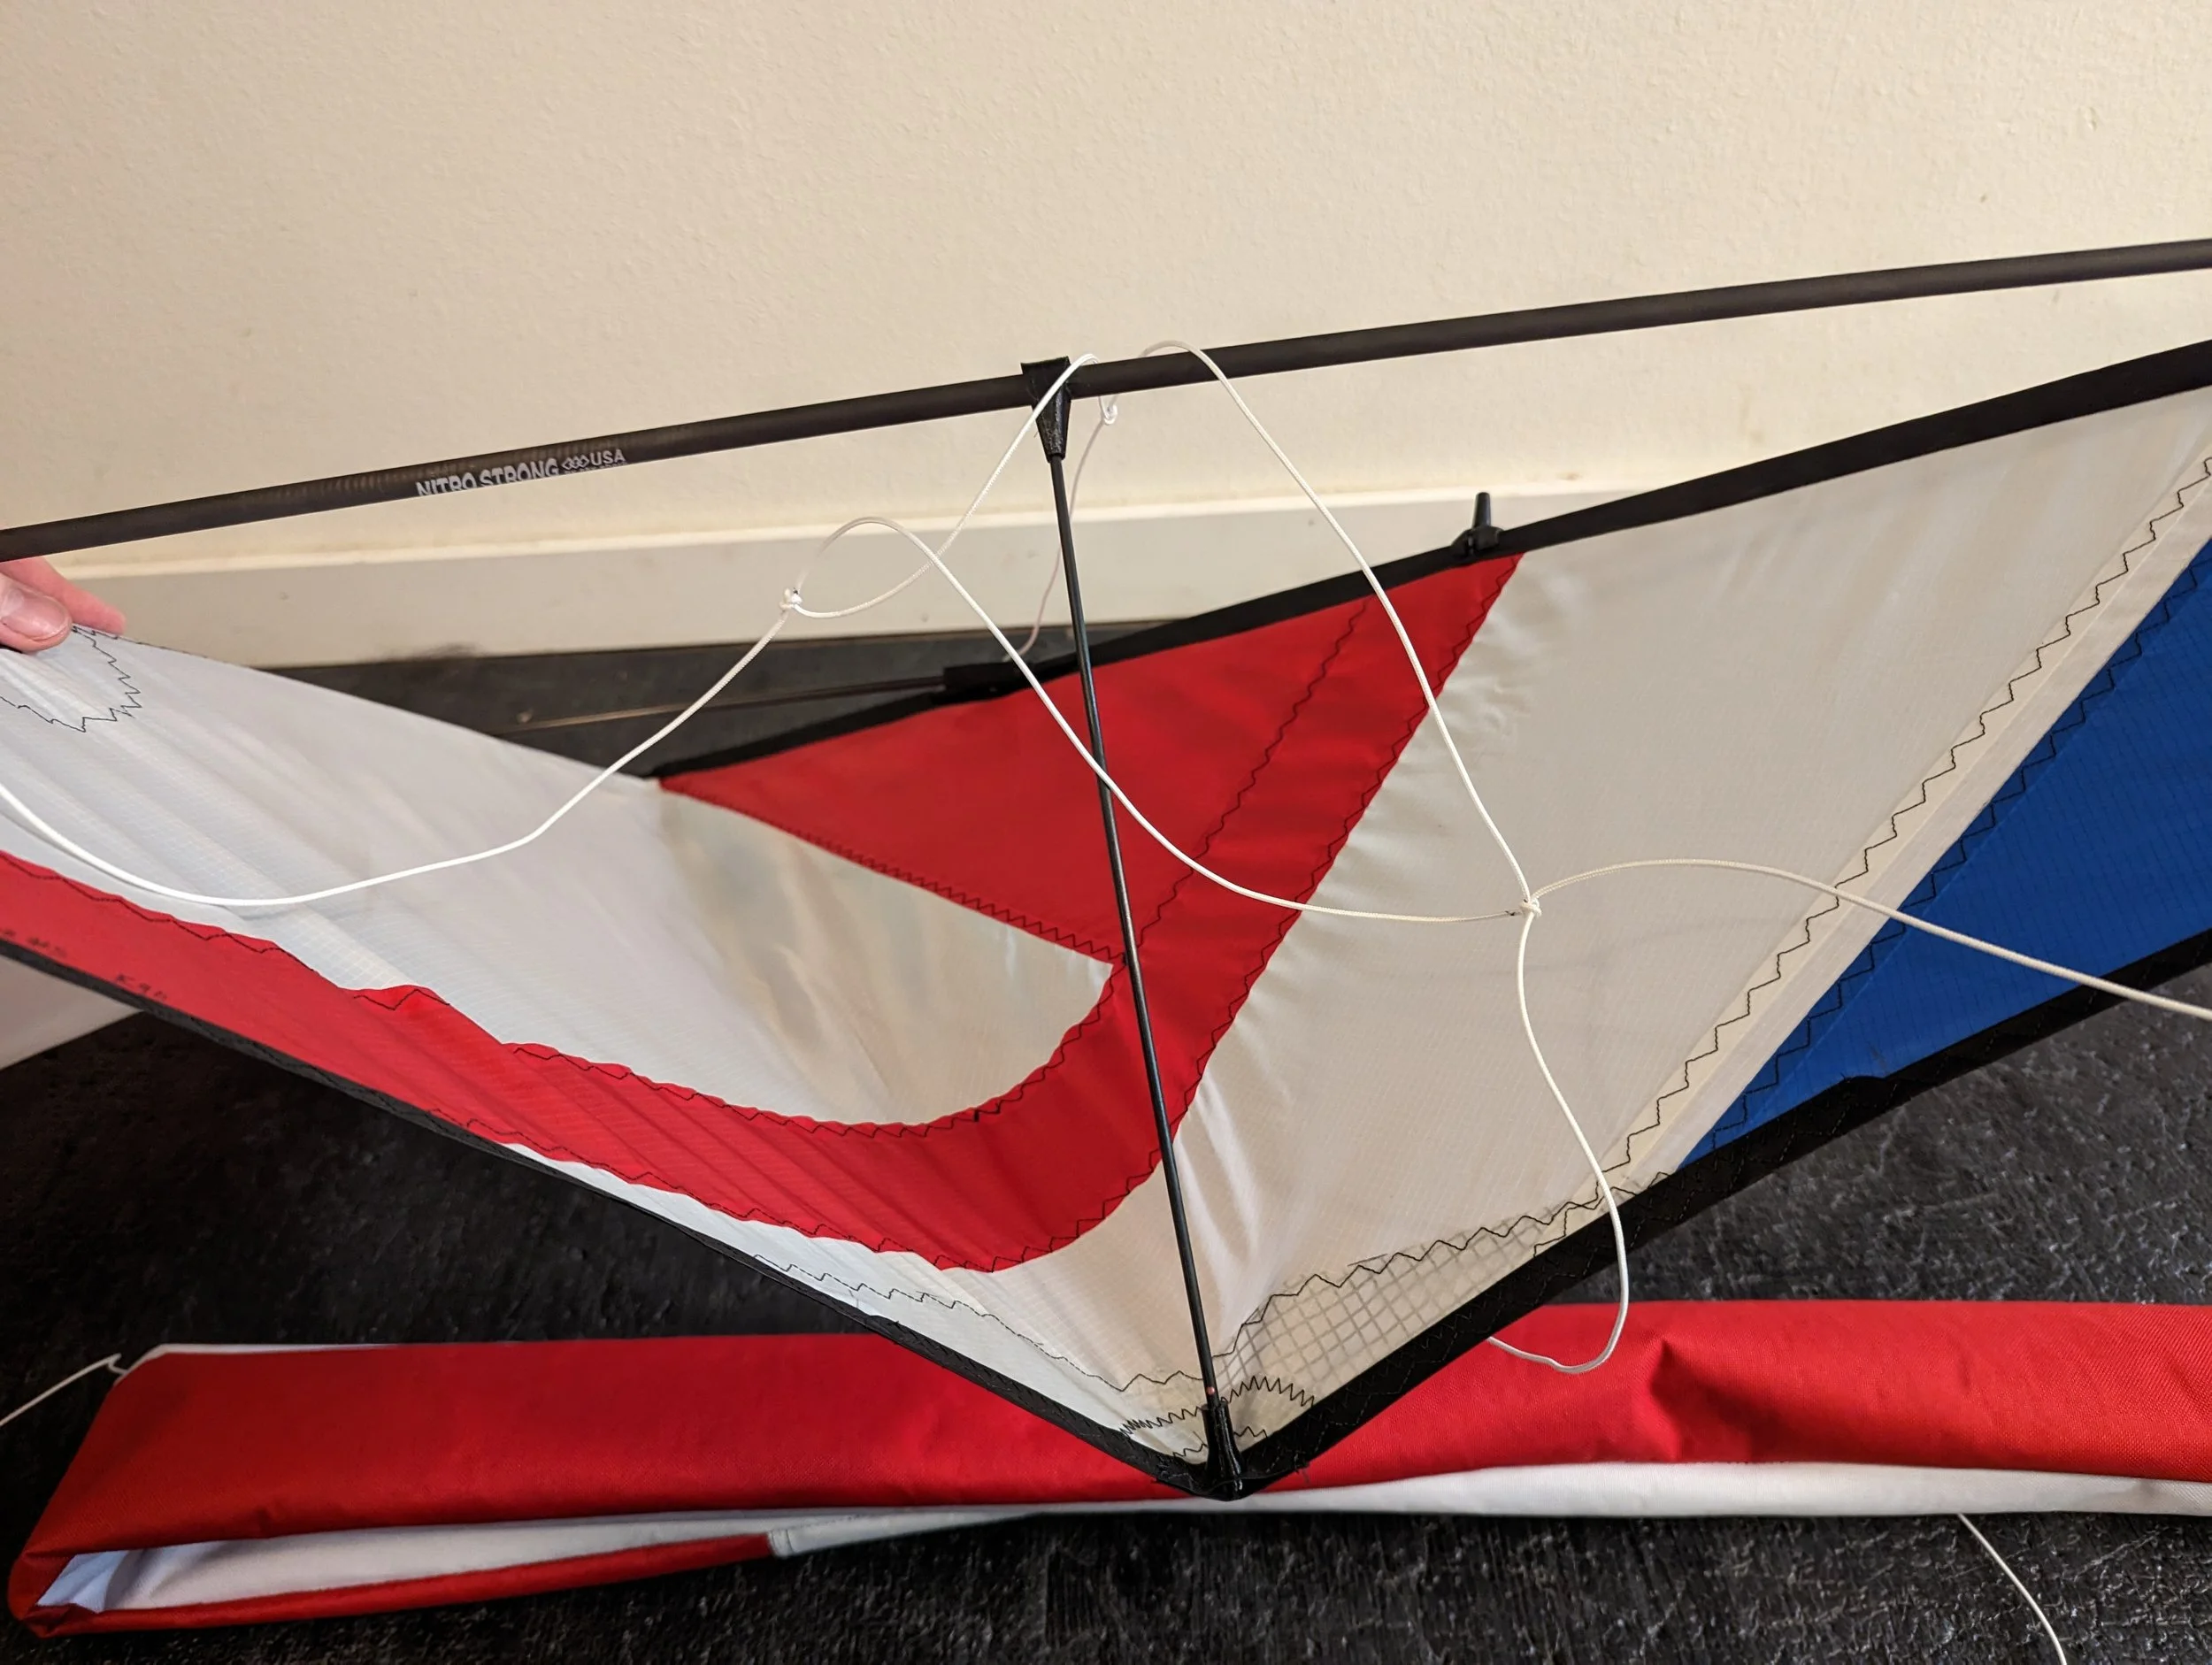
Center T reinforcement
On Escape #4, I complained about the center cut-out being very sketchy with the nylon. I tried to compensate on this by adding a layer of mylar here. I think this helped to an extent, but I think the core of the problem is having such a large cut-out that compromises the sail rigidity along the spine. Next time, I may cut just enough out of the sail to make room for fittings, and no more.
Wing tip reinforcement
On Escape #4, I was a bit annoyed by the looseness between the nylon and the mylar reinforcement on the wing tips. So, I added some parallel straight stitches to keep the layers together more effectively.
Challenges
Nose
I’ve had a repeating problem where my nose endocarp fittings are difficult to push into the nose. I had that problem this time, and ended up sanding down the fittings slightly. I went back to my fitting model and added a variable that sets a maximum width, which will be useful to keep the endcaps from getting too large externally.
Tail
I put the velcro on the back of the sail a bit too low, which kept me from sewing across the top of the dacron on the front of the sail. I need to keep in mind about the edges of the front reinforcement and to place the back velcro in a place where there isn’t a conflict. I don’t think this makes any practical impact, but I don’t really like having that non-sewn edge of the dacron.
Wing tip ribbon
Another repeating problem is that it’s quite easy to make the grosgrain ribbon loop on the wing tip too small, making it difficult to get the tensioning line through. This happens because the ribbon slips as a start sewing through it. Maybe using some double-sided tape in here would help prevent that from happening.
Taped seams
I typically prefer to hot-tack all of my appliqué instead of taping. However, nylon makes that more difficult because it is much more flexible than Icarex. So, I ended up taping all of the appliqué.
Fittings
I’ve experimented with adding little holes in many of my fittings so that super glue can be injected. I didn’t end up using that here except on the lower spreader standoff fittings. I found the hole to be a bit too small to effectively inject super glue inside. I am also a bit wary about glueing most fittings in this way, because it will certainly make frame repairs much harder. If I do start glueing the fittings that way, I may want to include extra fittings with he kite so the owner has new fittings to use for at least one repair. It would also be nice to have a little pocket on the sleeve for these parts, so I may consider that in the future.