K74 - Escape #1
The Escape is an open source project from Ulzburger Kites. You can find build details at kareloh.com.
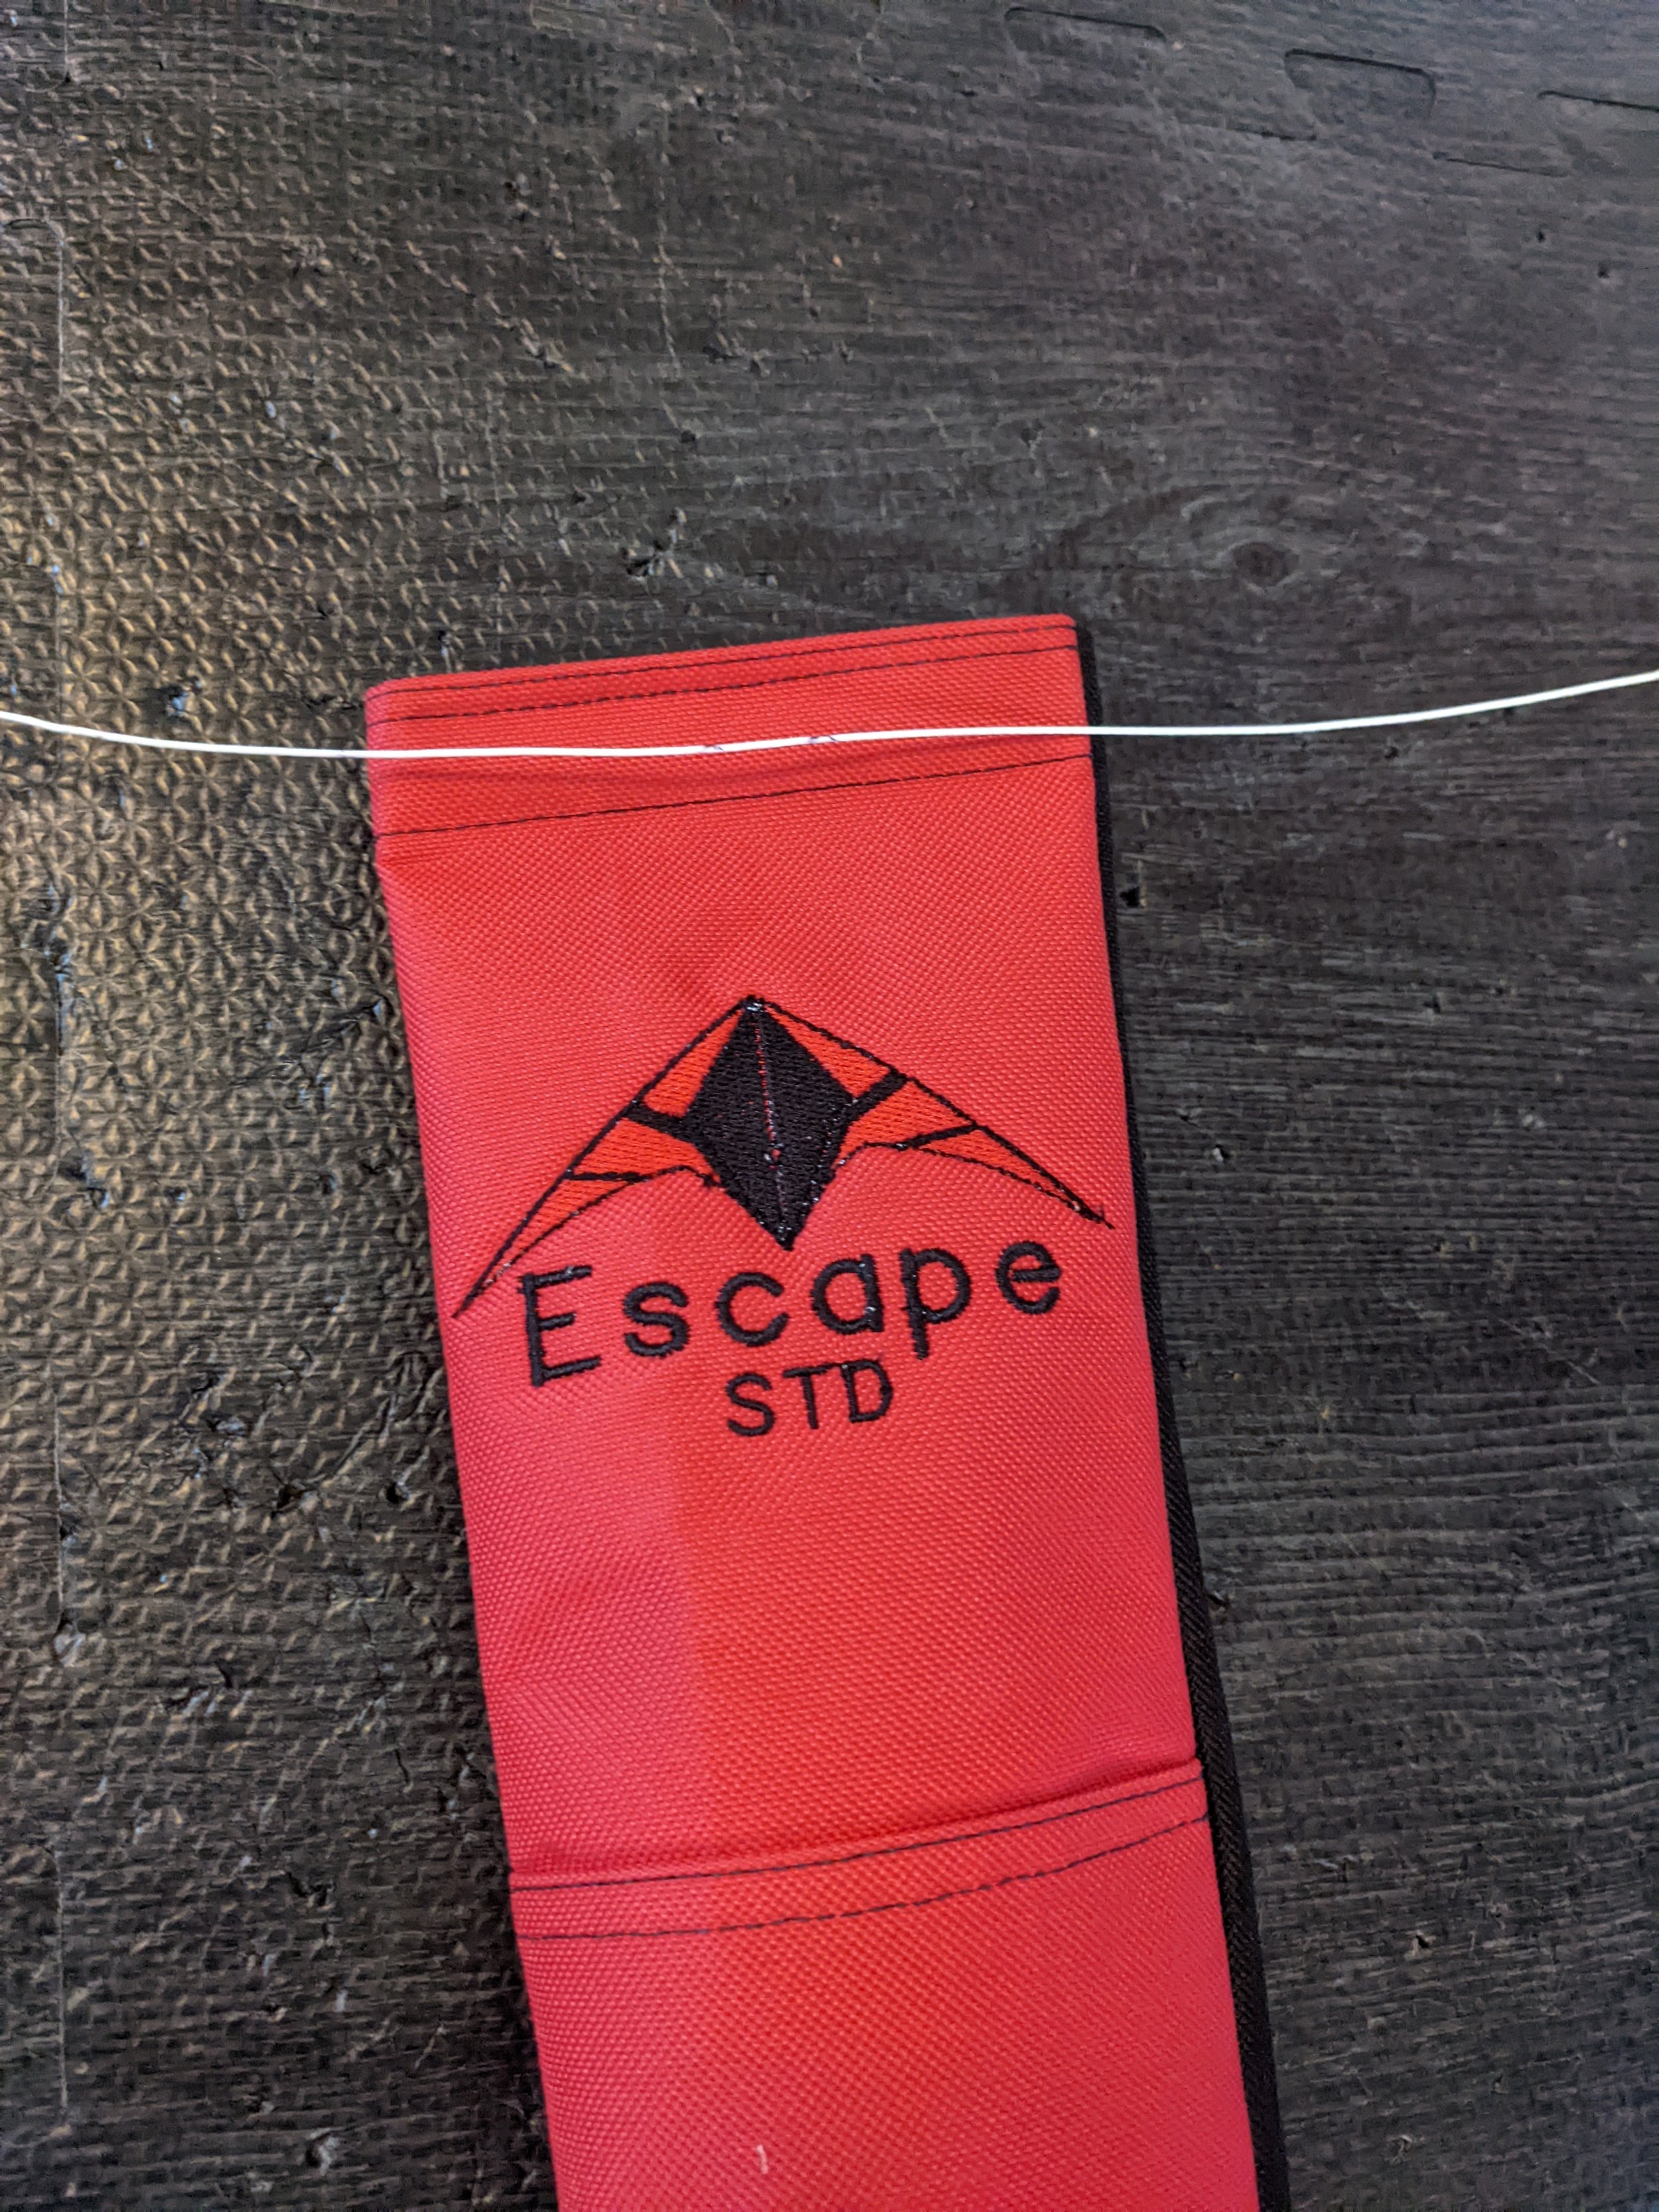
This is an Escape STD, framed with P200 and Nitro.
Plan impressions
The plan from Ulzburger Kites seems pretty robust, but I ran into a few parts that were confusing or surprising. I've added Birger Garbe's feedback inline as well.
Framing
The framing is largely references in Agil spars, which I believe are a European arrow shaft, which isn’t available in the US. I found the Skyshark frames to be inconsistently referenced as well. One person suggested that I use 5PT instead of Agil 400, but that seemed strange since the plans say P200. I ended up going with the P200 to try and be true to the plans.
Birger: I have no idea who recommended 5PT. P200 or P200 / P300 is my recommendation if no arrow shafts are available. I myself fly P200 / P300 in one of my kites.
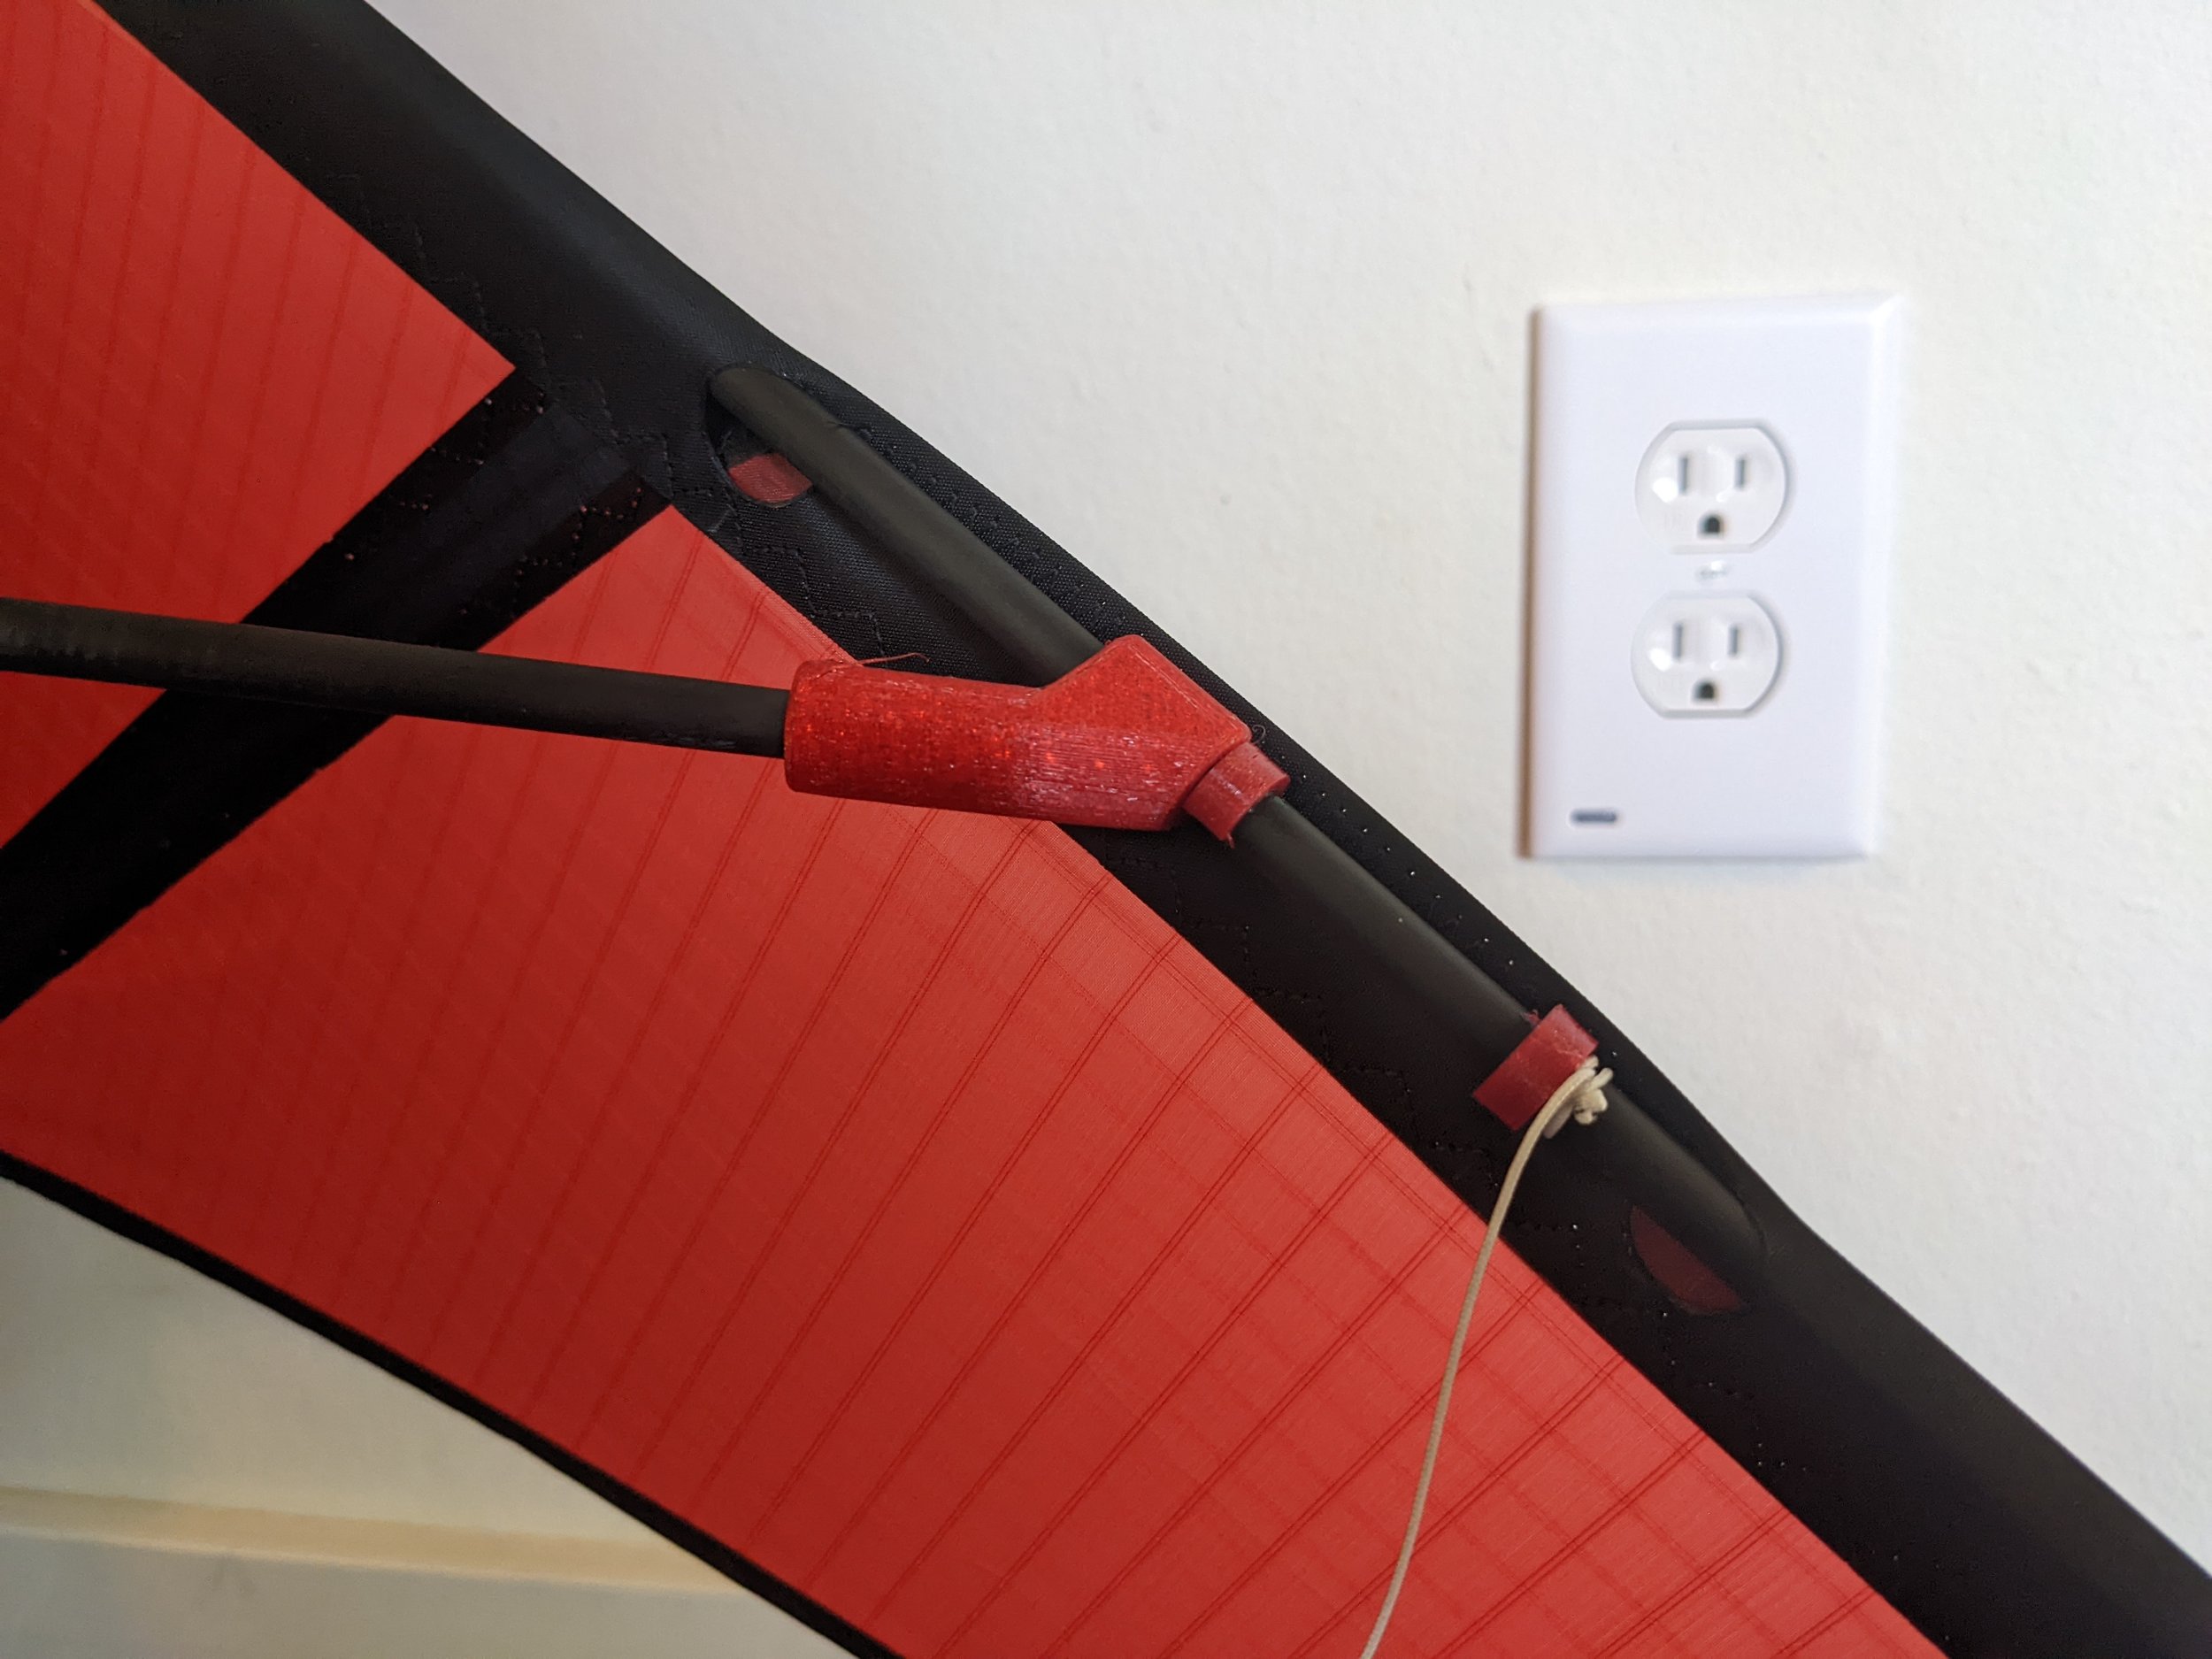
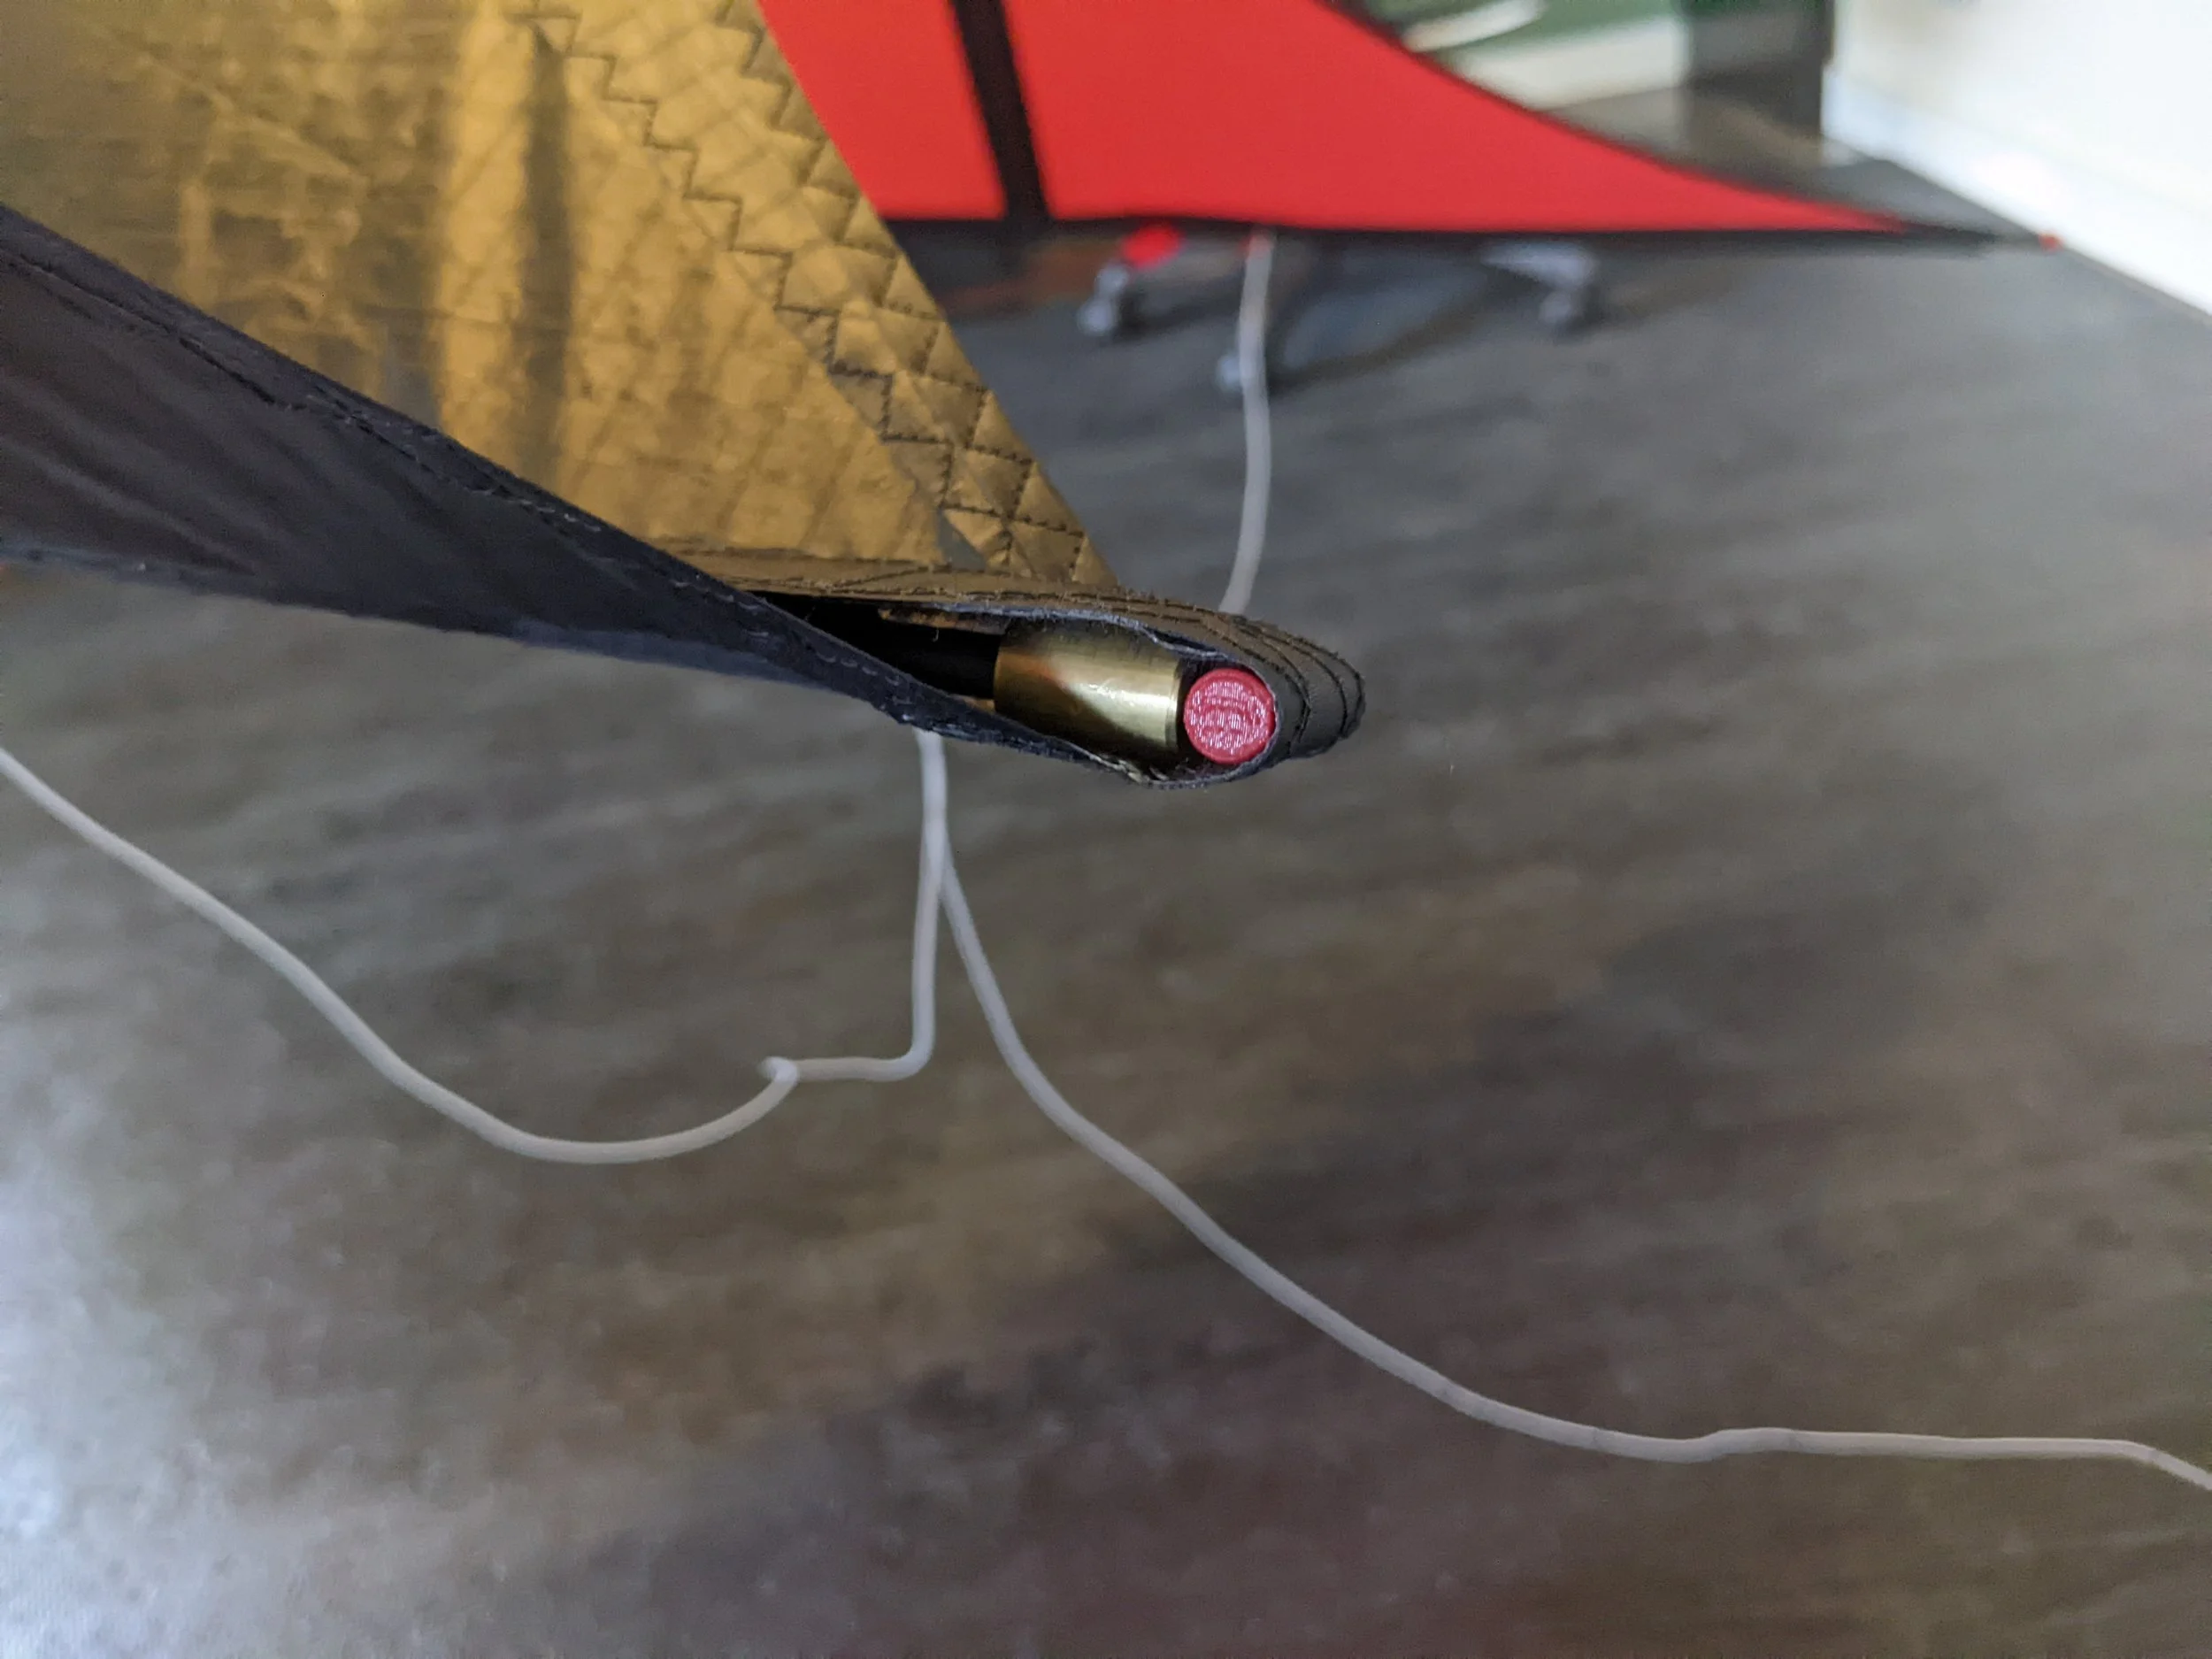
When I put the leading edge in, I noticed that, with a full length P200 upper leading edge, the ferrule sat out in the open area for the lower spreader connection. I think this seems fine, but a bit odd. Usually, the ferrule is nestled up inside the leading edge pocket somewhere. I suppose this could give extra strength to the connection point?
Birger: That is on purpose. So you can easily replace the lower part of the leading edges. Or loosen the lower part and fold it down to transport the kite in a suitcase or in a small car (e.g. in my Miata).
I was a bit surprised about the standoff being fiberglass. Its length listed in the plan seems a bit long as well, which might be why fiberglass is used, so the long rod can be bent? I’m not sure of the benefit of fiberglass over carbon in cases like this, so I usually go with carbon, but I had some 3mm fiberglass sitting around, so I figured I’d use it.
Birger: The fiberglass rods let the kite buffer the gusts. The concept is also used in some French kites. The standoffs in your photo are obviously too long, the tension in the sail is much too high.
Sail pattern
The plan doesn’t provide any reference for fabric bias, so I had to do my best to choose an appropriate direction for the fabric consistently.
Birger: In each panel there is an arrow below the label indicating the direction of the fabric. https://ulzburger.github.io/kiteplans/kiteplan_escape.files/Escape-2020-Panels-80x100.pdf?fbclid=IwAR1UoPc-6fvz7lTIYjfyoTsUk4dsQV0av34DvQ_NaGRRcy3PASG4ZDr7N_c
Reinforcements
The upper spreader / spine reinforcement seemed to sit a bit low for me, if I were to do it again, I’d move that up 10mm or so.
Birger: If you've built everything correctly, the upper spreader will hit the exact center of the reinforcement. I paid attention to that.
I think the lower spreader / spine reinforcement is interesting. The rhombus was a bit more effort to cut out, and I usually prefer rounded corners over sharp ones, but this does turn out looking pretty cool, and it accommodates the low bridle attachment well.
More notes from Birger
I took another closer look at the pictures: the upper spreader is attached with Tiny APA according to the plan. Your printed APA appear to be larger. In addition, the speader position is too high. This is the reason why your spreader does not hit the reinforcement and the kite arches outwards in the upper area. As a result, the briddle point will probably also sit too high on the LE. This is massively noticeable in the flight characteristics. Please compare your kite with the pictures here: https://www.kareloh.com/kite-plans/escape/escape-builds/ I wish you a lot of fun with your beautiful kite!
Printed parts
As usual these days, the kite sports mostly 3d printed parts, minus the yoyo stoppers (trying to use up some old ones). I went all red on all the parts because, why not.
Bridle
I was thinking about how to reinforce the upper bridle leg against abrasion on the lower spreader. In the past, I’ve tried using heat-shrink, but I’ve had issues with the heat-shrink slipping. Paul DeBakker mentioned to me about using sleeving from a thicker bridle line on top of the normal bridle, but I didn’t have bridle line with thick enough sleeving to make that work. I ended up going back to the heat-shrink and tried adding a dab of glue on either end. Maybe that will help. I thought this heat-shrink had adhesive on the inside but it doesn’t seem so. I might look at ordering something like that for the future.
Sail stay
I tried adapting my sail-stay cover that I have been doing on the Shiznit. I added a nylon pocket to cover the sail stay to prevent snagging and abrasion on the part. I think that turned out pretty well. We’ll see if it lasts very long though, might need to use Dacron instead.
Nose
I tried adapting my nose reinforcements that I do on the Shiznit, and I think it’s ok. I added a full-width reinforcement around the leading edge up by the nose to help reinforce the cut part of the nose and to reduce snag points. I like it, but I don’t love it. I’m not sure what I want to do to make it better though.