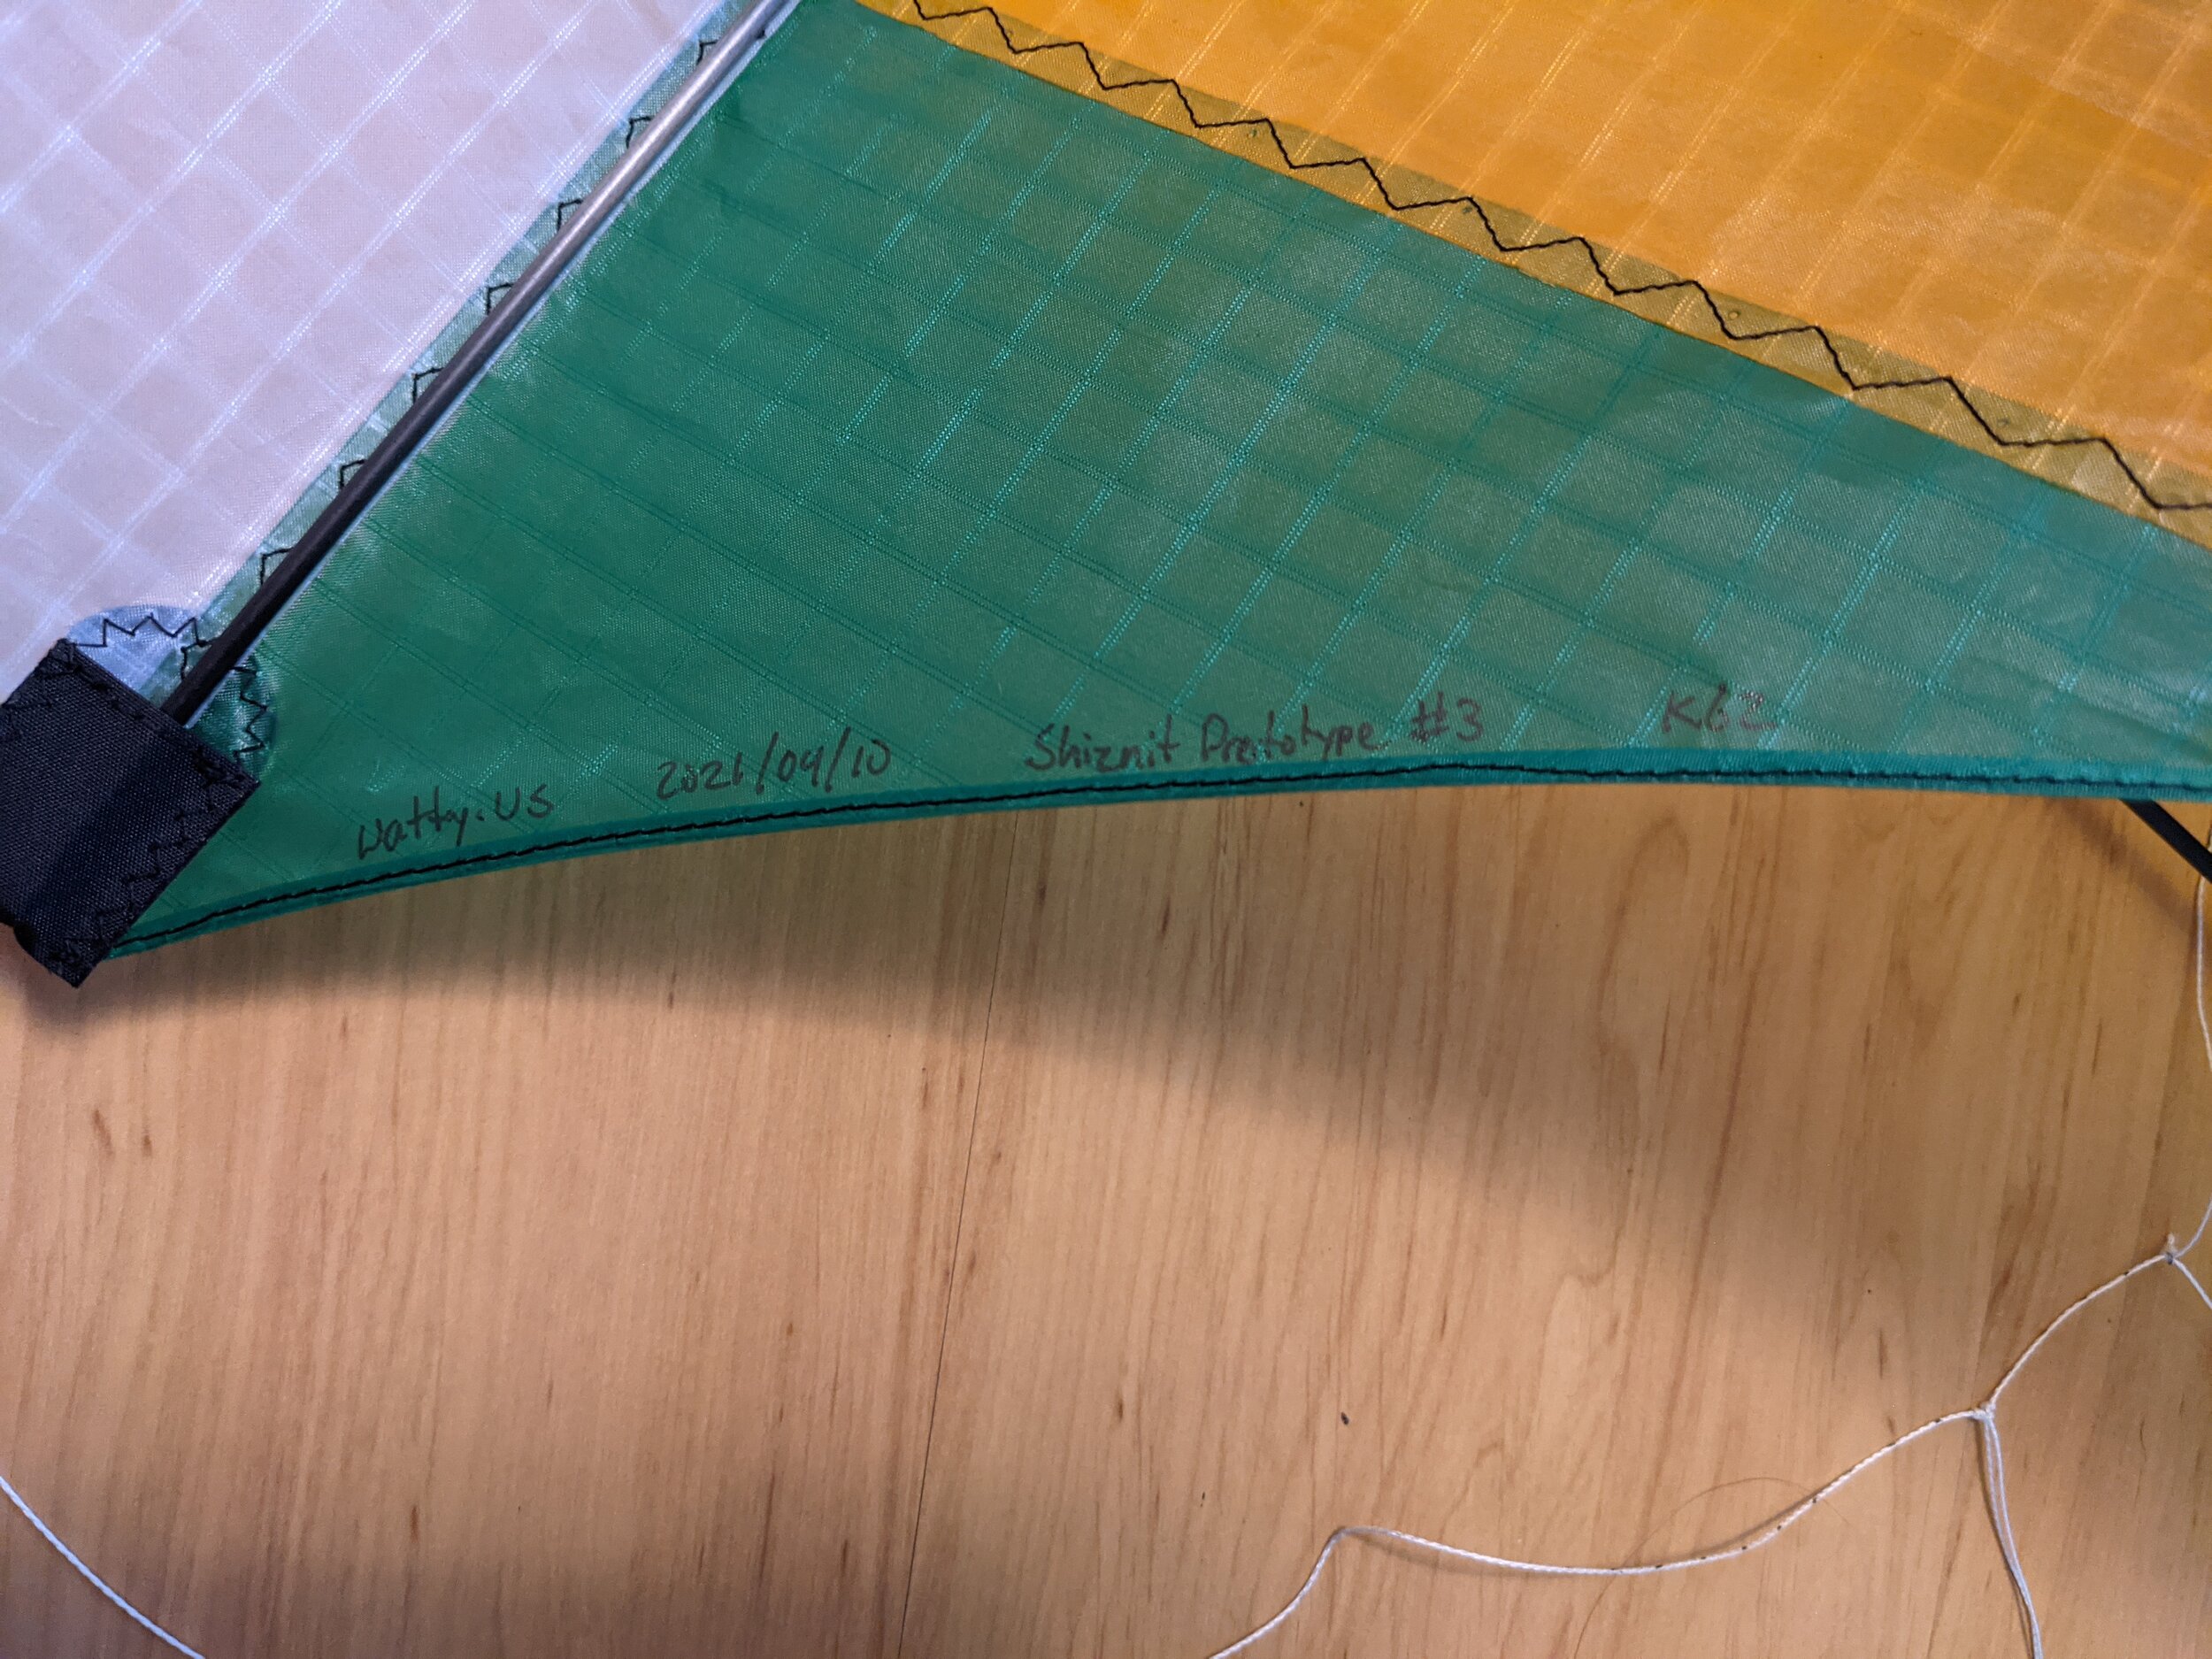
K62 - Shiznit Prototype #3
Build notes:
Frame
I decided to go a bit lighter on the frame. The previous version had 4mm pultruded carbon throughout with 2mm sold carbon standoffs. This version uses 4mm pultruded carbon on the lower spreaders, 3mm pultruded carbon in the leading edge and upper spreader, and 2mm solid carbon standoffs. I’m hoping this can make the kite bit more floaty and easier to fly.
Sail cut
When flying the last prototype, it struck me how triangular it was, and I thought it looked odd. So, I decided to cut in the trailing edge curve a bit more. I think this might also help with slot machines, which I’ve been having trouble with on the last prototype, because I think the reduced trailing edge might make flat rotations a bit easier.
Tapeless assembly
Following the online kite makers workshop put on by Fortuna Found and U-Make, I was inspired by Chris Hansen’s approach when making kite tails. I printed out my paper blueprint, sprayed some tacky spray on it, laid pieces of fabric down and hot cut right on the blueprint. I found this to be quite efficient. Following the cutting, I was able to then use the tacky blueprint to arrange the panels and hot-tack them together, removing the need for any double sided tape within the appliqué. I still use a bit of double sided tape around the leading edge, and in some other spots, but it has been heavily reduced by this method.
3d printed parts
As usual, the kite is made with all 3d printed parts. I had to adjust the parameters on my models a bit to adjust to the new 3mm rods, but it all went pretty smoothly.
Nose reinforcement
When doing the kite-house style nose, I historically have done a small strip along the end of the LE to reinforce the cut point. I decided to try using a full-width (same width as LE) piece of reinforcement instead so that it can be held down by both the top and bottom stitches. I think this turned out quite nicely, and I’ll likely iterate more on that approach.
Center cross
With the last prototype, I had some issues with the lower spreaders breaking against the aluminum center ferrule. On this version, I made the center ferrule slightly longer, and added a 3” solid carbon internal ferrule as well. Hoping this issue becomes resolved as a result.
Bridle
After working on the bridle for the last prototype, I compared it to other dual line kites that I have, and I found that my bridle was much more shallow than others. So, I tied this bridle with a bit more depth to see how I like that. I’ll likely do some tweaks, and maybe throw in a keeper line if necessary.
Colors
The color selection on this one is strange, because this is all fabric from my scrap bin. Didn't want to cut into my rolls of fabric for a prototype kite.